
Start with a short, clear shot that shows stationary detail and camera movement through the scene. This first run gives you a tracked camera and point cloud. Once you have checked the solve, add the depth, lens and reconstruction outputs your shot needs.
Before you track
- Install CreativeTrack for UE 5.8, then restart Unreal Editor.
- Activate your workstation from the CreativeTrack profile menu.
- Open the Unreal project and level where you want the shot imported.
- Make room for the source footage and generated files. Store jobs outside the CreativeTrack installation and plugin folders.
Need to finish setup? Follow installation and activation first.
1. Load the footage
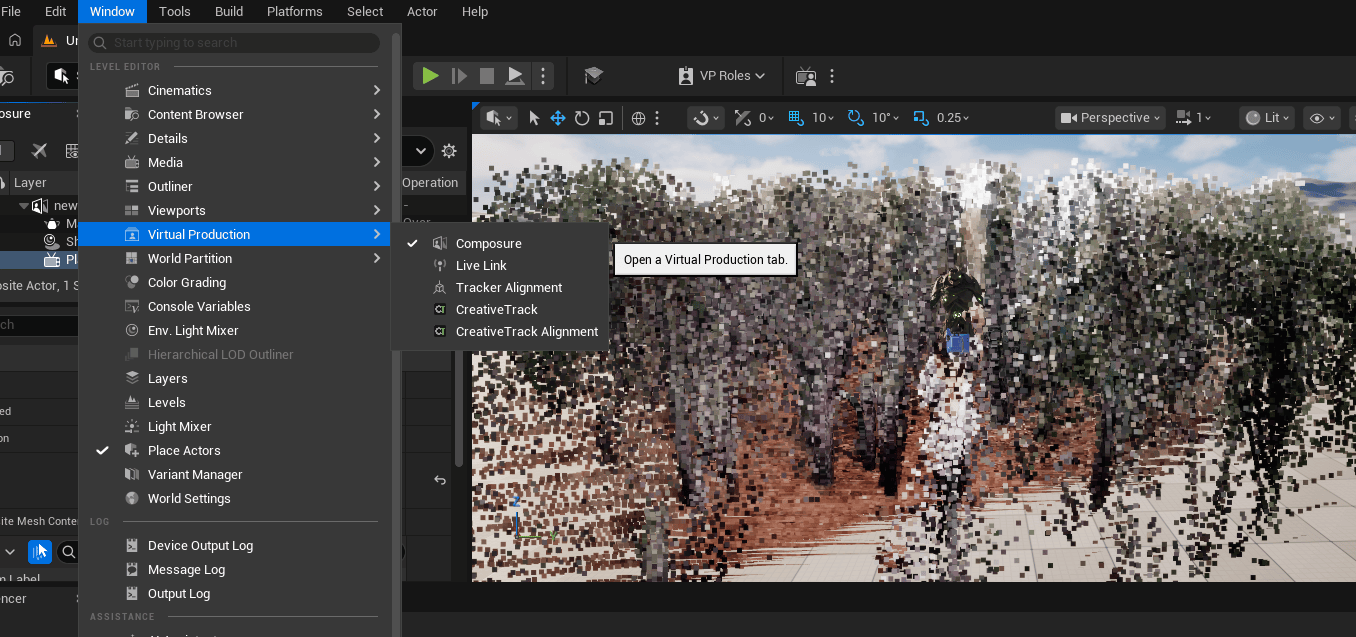
- Open Window > Virtual Production > CreativeTrack.
- Choose File > Import Video…, or use File > Import Image Sequence… and select your sequence folder.
- Check the footage in the preview. For image sequences, set Image Sequence Frame Rate to the source frame rate.
- Set the first and last frames on the timeline. Use one continuous shot without crossing a cut.
2. Set the output folder
Choose File > Choose Output Folder…, or browse to the output directory in Tracking Settings. Give the shot a clear name. Use a separate folder for each test you want to keep.
By default, jobs are saved under Saved/CreativeTrack/Jobs/ in your Unreal project, in a folder named for the shot and timestamp. The camera solve and generated assets stay together beneath that folder.
3. Start with camera tracking
- Keep GPU Preset on Auto (Recommended).
- Keep Depth Map and Undistort off for this first solve check.
- Leave Generate With Track Shot off in the mesh settings.
- Enable Auto Import under Pipeline > Media & Delivery > Track Shot Import to import the finished camera and scene into the current level.
If moving subjects take up much of the frame, use Enable Masks and name the subjects you want excluded. For your first test, a clear view of the stationary scene makes the result easier to check.
4. Hit Track Shot
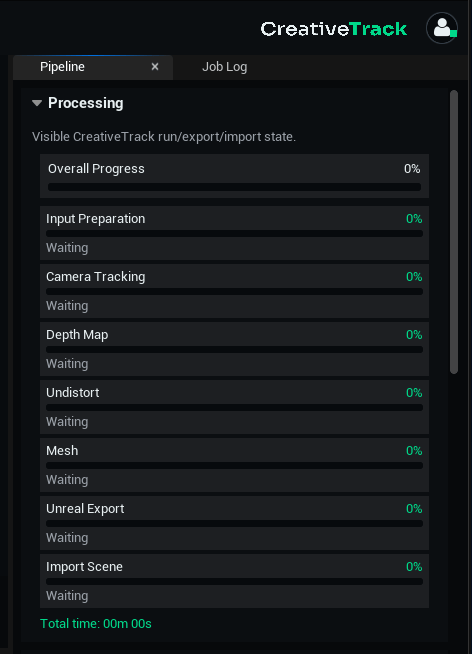
- Click Track Shot. Keep the CreativeTrack window available while it processes the shot.
- Follow the stage status. If a stage reports a problem, read the job’s
Logsbefore changing settings. - After import, find
<shot>_LevelSequencein the Content Browser and open it. - Look through the tracked camera at the beginning, middle and end of the shot. Check that stationary features and the point cloud stay aligned with the footage.
- Save the Unreal level. Keep the Job Folder and original footage for reconstruction, media preparation or troubleshooting later.
Build out the shot
Get comfortable with the workspace and menus, or use the Unreal import guide to review the scene hierarchy and manual import options. Add depth maps and compositing when you need them. The file reference explains every output.
